

My absolute favorite holiday and theme for kids yoga is Valentine’s Day and Love! I LOVE this time of year. I love passing around a stuffed heart and hearing what kids say who and what they love. I love doing dancing and freezing to “All You Need is Love”. And I love leading love-themed guided imagery, like the "Love Balloon" and "Loving Kindness" from Imaginations and Imaginations 2.
Sending love to the people you love (and to the people you don’t) is calming and therapeutic. The Loving Kindness meditation for kids is always a free download from BambinoYoga.com because I just don’t think there can ever be enough love sent around!!!
Some other fun Valentine’s Day activities:
Mudra Finger Stretch
-Form a heart with your hands, back of fingertips touching and thumbs joining below ("Heart Position", pictured above).
-Lift your pointer fingers and touch the fingertips.
-Bring them back to Heart Position.
-Lift your middle fingers (Pyramid Mudra).
-Bring them back to Heart Position.
-Lift your ring fingers.
-Bring them back to Heart Position.
-Lift your pinky fingers.
-Bring them back to heart position.
Benefits: Stretches and exercises fingers and hands (good after keyboard use, texting, gaming, etc.); increases focus and concentration due to fine motor skills; Pyramid Mudra boosts feelings of love and compassion
Heart Yoga
Use heart stickers to help all kids see that we all have hearts! Like these.
Have each child put a heart sticker over their heart. It is a good visual to help kids understand the idea of sending love to someone else's heart!
The fun part of using these stickers is that any yoga pose becomes a Valentine's Day pose!
Benefits: Fun! Also, helps conceptualize love and our Heart Chakra.
For more fun ideas, check out this Love Lesson Plan:
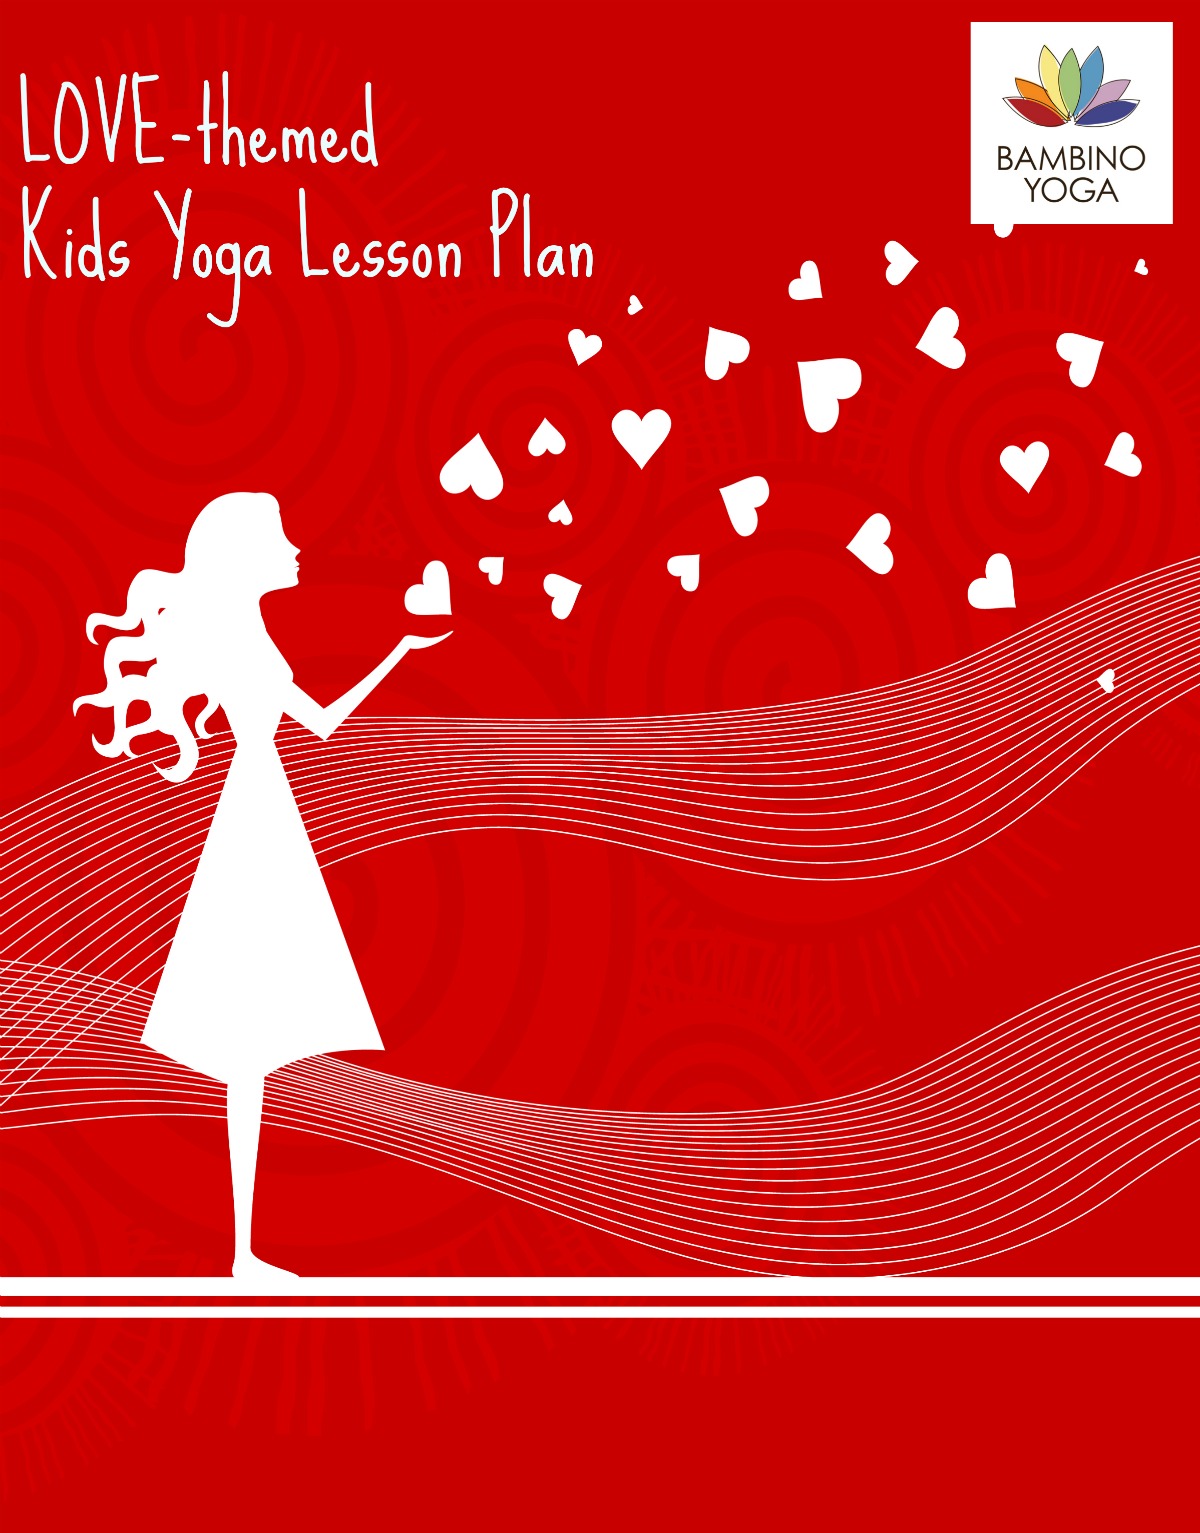
This lesson plan is all you need for a fun, love-themed kids yoga class. Perfect year-round or for Valentine's Day.
Lesson Plan Package includes:
Part 1: Love-themed Lesson Plan
Full lesson plan with poses, props, suggested verbal cues
Part 2: Relaxation Story- Loving Kindness Meditation
A love-themed relaxation story from Imaginations: Fun Relaxation Stories and Meditations for Kids
Part 3: Time Extenders
Some classes are longer than others, so these are some extra ideas to help you keep time filled.
Part 4: Lesson Plan at-a-Glance
An outline of the entire lesson. It is a convenient, at-a-glance list to use while teaching.
After checking out, you will receive an email with a link to download your PDF Lesson Plan Package.
For Love-Themed Stories:
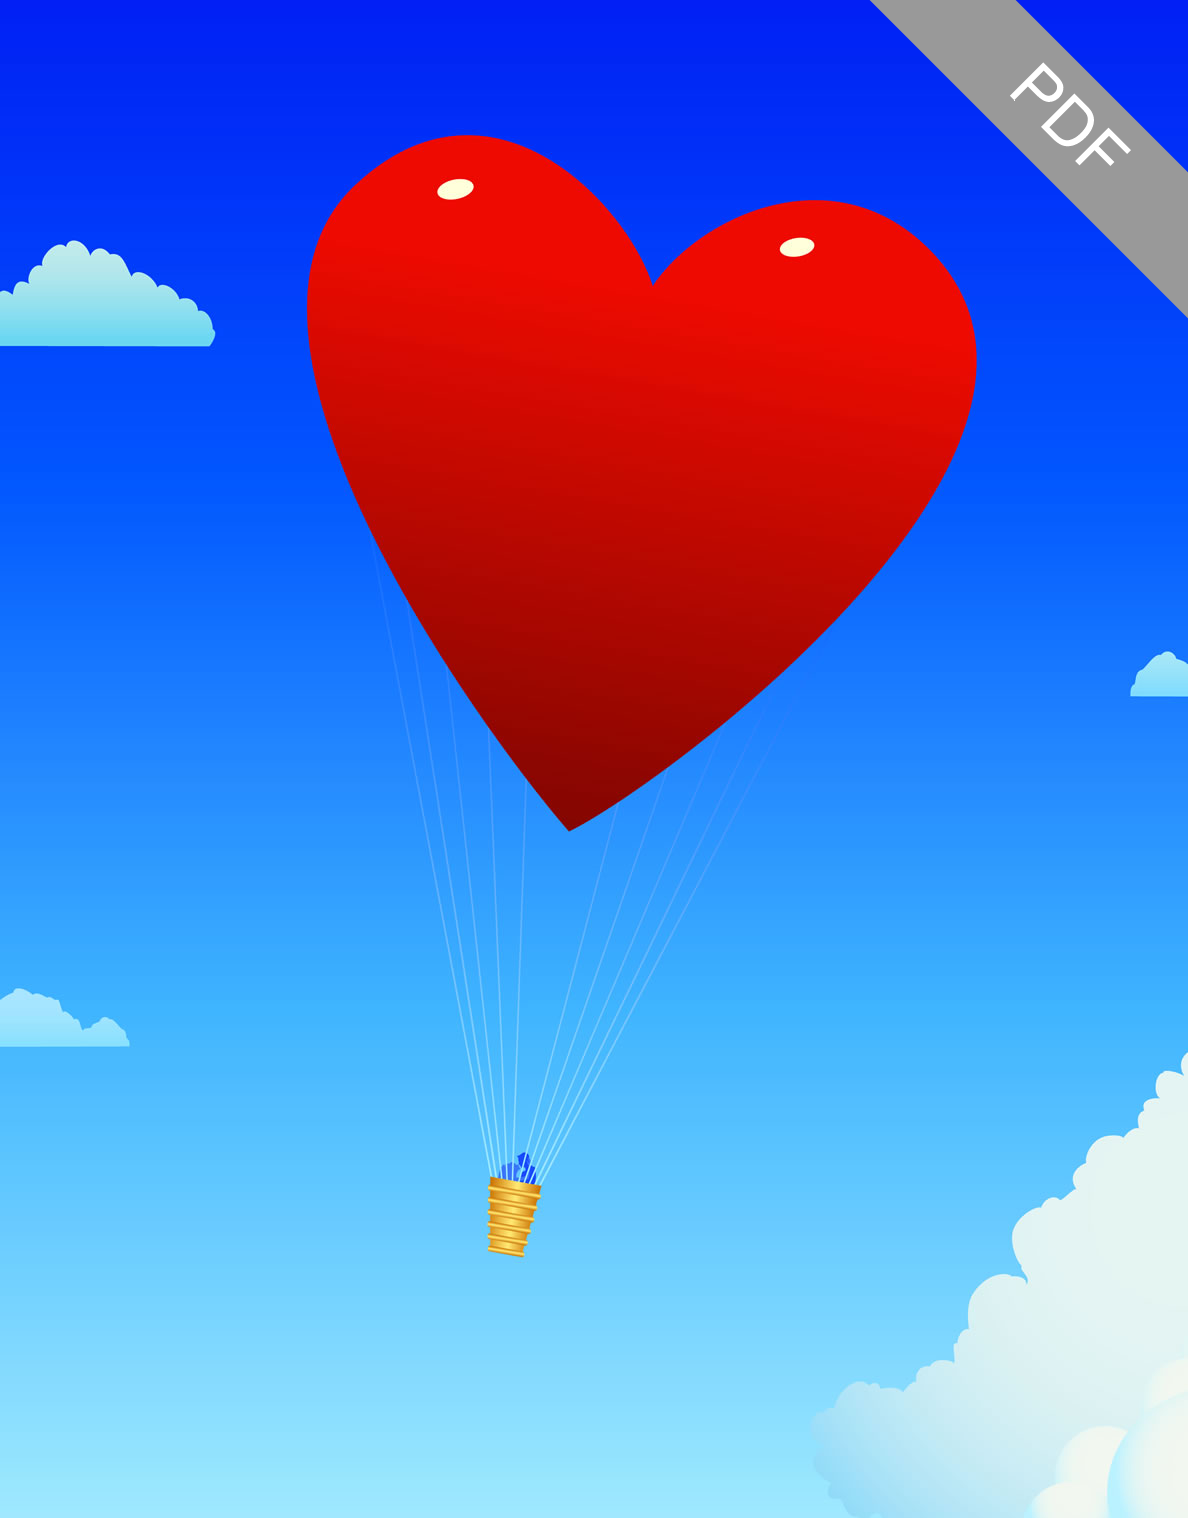
A PDF file of a single story from the book, Imaginations: Fun Relaxation Stories and Meditations for Kids.

***This is a free download. No credit card info required if you are only downloading this story. During checkout, simply leave credit card number blank and click on "Submit Order"***
A PDF file of a single story from the book, Imaginations: Fun Relaxation Stories and Meditations for Kids.
Namasté and love,
Carolyn